Getting Started
xSuite makes the initialization, building, testing and deployment of contracts extremely easy.
Your first contract deployed in seconds
Let's initialize, build, test and deploy your first MultiversX contract in seconds.
0. Install xSuite
The only requirement is to have Node.js 18+ already installed.
Install Node.js 18+
Install the Node Version Manager (opens in a new tab) (NVM):
curl -o- https://raw.githubusercontent.com/nvm-sh/nvm/v0.39.5/install.sh | bashThen install Node.js 18:
nvm install 18You should then close and reopen your terminal.
Install xSuite:
npm install -g xsuite1. Initialize the Contract
Create a new blank contract in the directory first-contract and open it:
xsuite new --dir first-contract
cd first-contract
2. Build the Contract
Install Rust, which is necessary to build the contract:
xsuite install-rustYou should then close and reopen your terminal.
Build the contract:
npm run build3. Test the Contract
Test the contract:
npm run test4. Deploy the Contract
Create a new wallet, encrypted with the password of your choice:
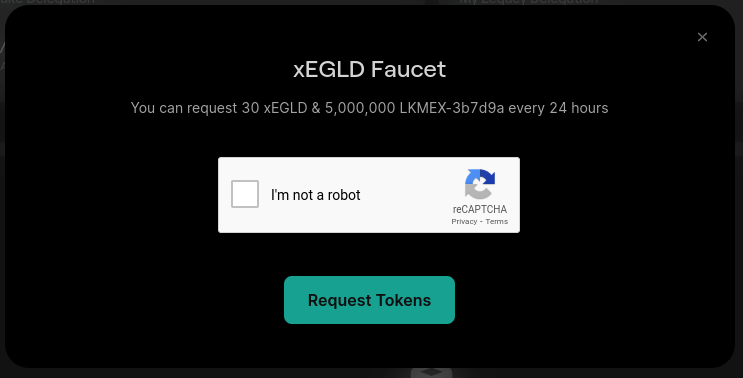
xsuite new-wallet --wallet wallet.jsonFund this new wallet with 30 xEGLD, the fake EGLD of devnet:
xsuite request-xegld --wallet wallet.jsonA page opens in your browser. Fill the captcha and request the tokens.
Deploy the contract to MultiversX devnet:
npm run interact:devnet deployBravo! You have just deployed your first MultiversX smart contract! 🎉